Table of Contents
💡Quick Facts
🠊 Start simple: Sweep, pre-rinse, then clean in small sections so you do not miss spots.
🠊 Use the right product: The best concrete cleaner is the one that matches your stain, not the strongest bottle on the shelf.
🠊 Handle organic growth correctly: Scrub with detergent and water, dry completely, and address moisture so it does not return.
🠊 Use bleach safely if you use it at all: CDC recommends no more than 1 cup of bleach per gallon of water for mold cleanup.
🠊 Pressure washing is optional: If you do it, start gently, keep moving, and treat it like power equipment because injuries can be severe
If you’re wondering how to clean concrete patio surfaces after winter, the answer is straightforward: clear debris, pre-rinse, use the right cleaner for your soil and stains, scrub in sections, then rinse thoroughly and let it dry.
Spring is the ideal reset because winter grime is often a mix of tracked-in grit, organic growth, and de-icing residue, which can dull concrete and make stains look worse than they are. When you clean correctly, you’re not just improving curb appeal. You’re reducing slippery buildup and setting the surface up for easier maintenance all season. For organic growth like molds and mildew, the Environmental Protection Agency’s (EPA) guide recommends starting with detergent and water on hard surfaces, plus complete drying and moisture control.
Before You Start: Concrete Cleaning Safety Checklist
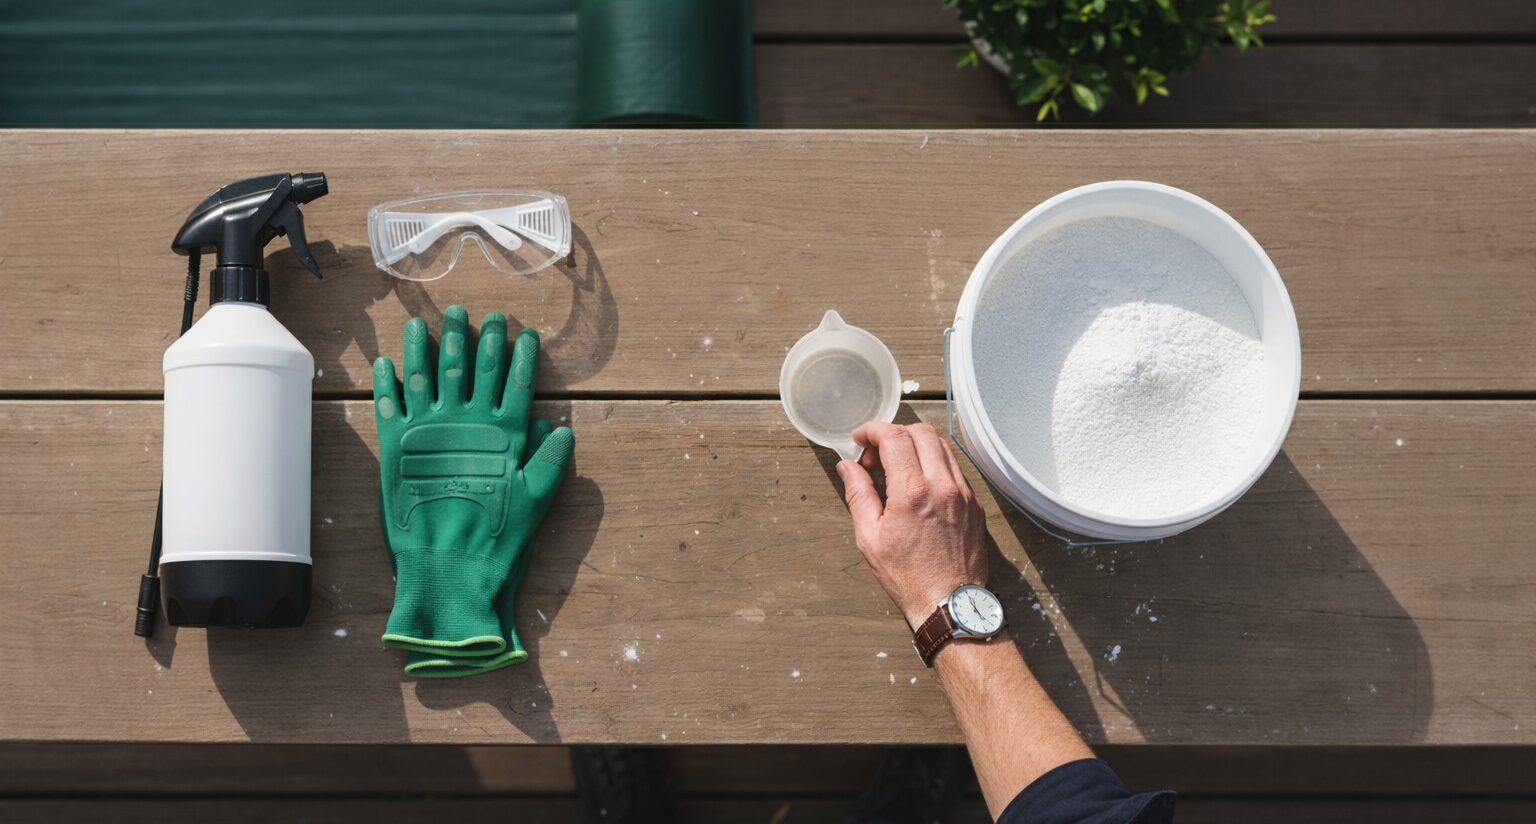
Gather Tools for Concrete Cleaning
- Stiff-bristle broom
- Garden hose with spray nozzle
- Bucket and measuring cup
- Pump sprayer
- Non-slip shoes, gloves, and eye protection
Protect Landscaping, Siding, and Nearby Surfaces
- Cover nearby plants with breathable fabric or plastic sheeting and rinse leaves afterward.
- Pre-wet the surrounding soil and mulch so runoff dilutes faster.
- Close windows and protect siding if you plan to use any cleaner that can splash.
- Keep runoff out of storm drains when possible by working in smaller sections and controlling rinse water.
Choose the Right Day for Outdoor Cleaning
- Pick a mild, dry day so the patio can dry completely.
- Avoid windy weather that can blow spray onto plants and siding.
- Skip cleaning right before rain so cleaner and grime do not re-deposit.
How To Clean a Concrete Patio Step by Step
Step 1: Clear the Patio and Dry-Sweep Debris
Start with a clean slate. Remove furniture, grills, planters, and mats. Sweep thoroughly, including edges and corners, where grit collects. This matters more than most people think because scrubbing on top of loose sand can grind dirt into the pores and make the surface look hazy.
Step 2: Pre-Rinse and Pre-Treat Problem Areas
Pre-rinse the whole patio to loosen dirt and cool the surface so cleaners do not dry too fast. Then spot-treat visible stains or greenish patches before you attack the entire slab. For organic growth, the EPA recommends scrubbing mold off hard surfaces with detergent and water and drying completely, while addressing moisture so it does not return. If you choose to disinfect after cleaning, the Centers for Disease Control and Prevention (CDC) suggests using no more than 1 cup of household bleach per gallon of water and ventilating the area.
Step 3: Apply the Best Concrete Cleaner for Your Situation
Not every patio needs a heavy-duty chemical. The “best concrete cleaner” is the one that matches what’s on the slab.
Use a mild option when:
- The patio is dusty or lightly dingy
- You’re dealing with pollen film or general tracked-in dirt
- You have nearby landscaping you want to protect
Consider a purpose-made concrete cleaner when:
- The slab has visible algae or mildew staining
- You see dark traffic lanes where people walk
- You’ve got cooking grease near a grill zone
Follow label directions and do a small test spot first, especially on older concrete, stamped finishes, or any area that has been sealed.
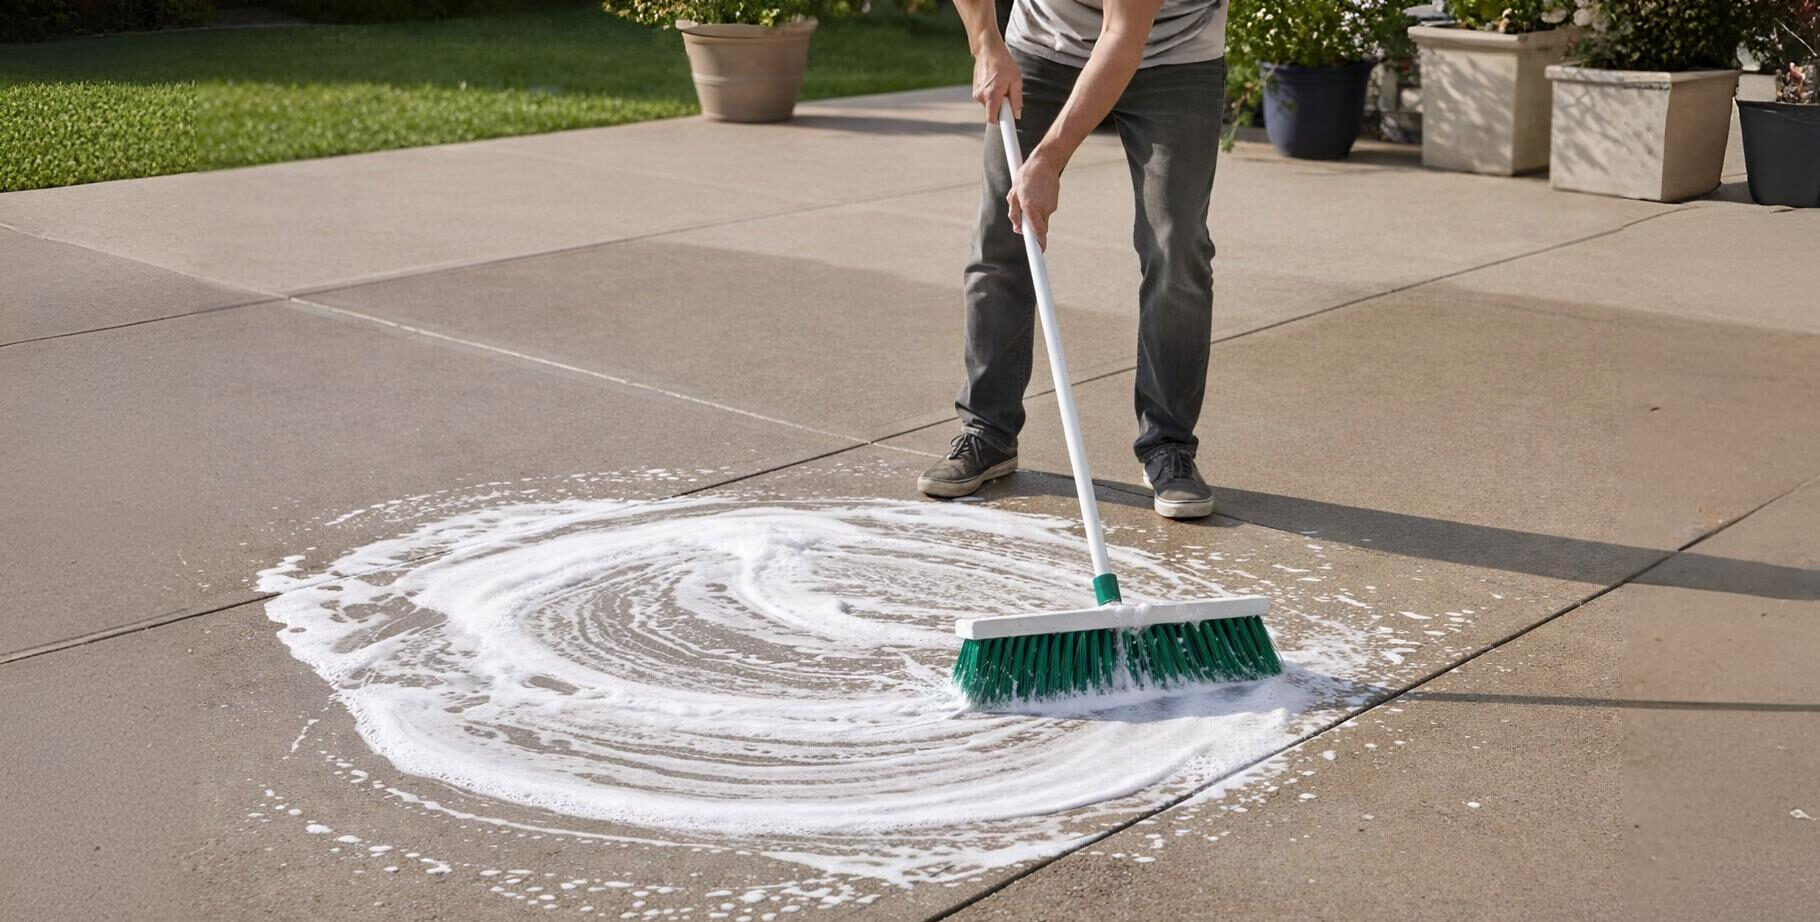
Step 4: Scrub in Sections for Even Results
Work in manageable sections, about 3 feet by 3 feet. Keep the surface damp, apply cleaner, let it dwell for the time recommended on the label, then scrub with a stiff brush. Overlap your sections slightly so you do not leave “clean lines.”
Step 5: Rinse Thoroughly To Prevent Residue
Rinse until the runoff looks clear. Cleaner left behind can dry into a dull film that looks like new staining. If you used a stronger cleaner, rinse twice. Let the patio dry fully before returning furniture.
Step 6: Optional Pressure Washing Without Etching
Pressure washing can be effective, but technique matters. Start with the lowest pressure that works, use a wider fan spray, and keep the wand moving to reduce the risk of etching or striping. We recommend testing a hidden spot, working at an angle, and avoiding aggressive tips that can scar surfaces.
Safety Note:
Pressure washer injuries can be more serious than they look. Even small cuts can require medical attention. Use eye protection, closed-toe shoes, and the lowest effective pressure. For decorative concrete or tough stains, hiring a professional like SMJ Homes in Westchester County helps avoid injury and surface damage.
How To Clean Concrete and Remove Stains Without Damaging the Surface
Match the Concrete Stain Remover to the Stain Type
A good concrete stain remover strategy is less about force and more about chemistry and patience. Identify the stain, then choose the right approach.
Rust Stains
Rust often comes from metal furniture legs, fertilizer, or well water. Use a rust remover labeled safe for concrete, test a small area first, and rinse thoroughly.
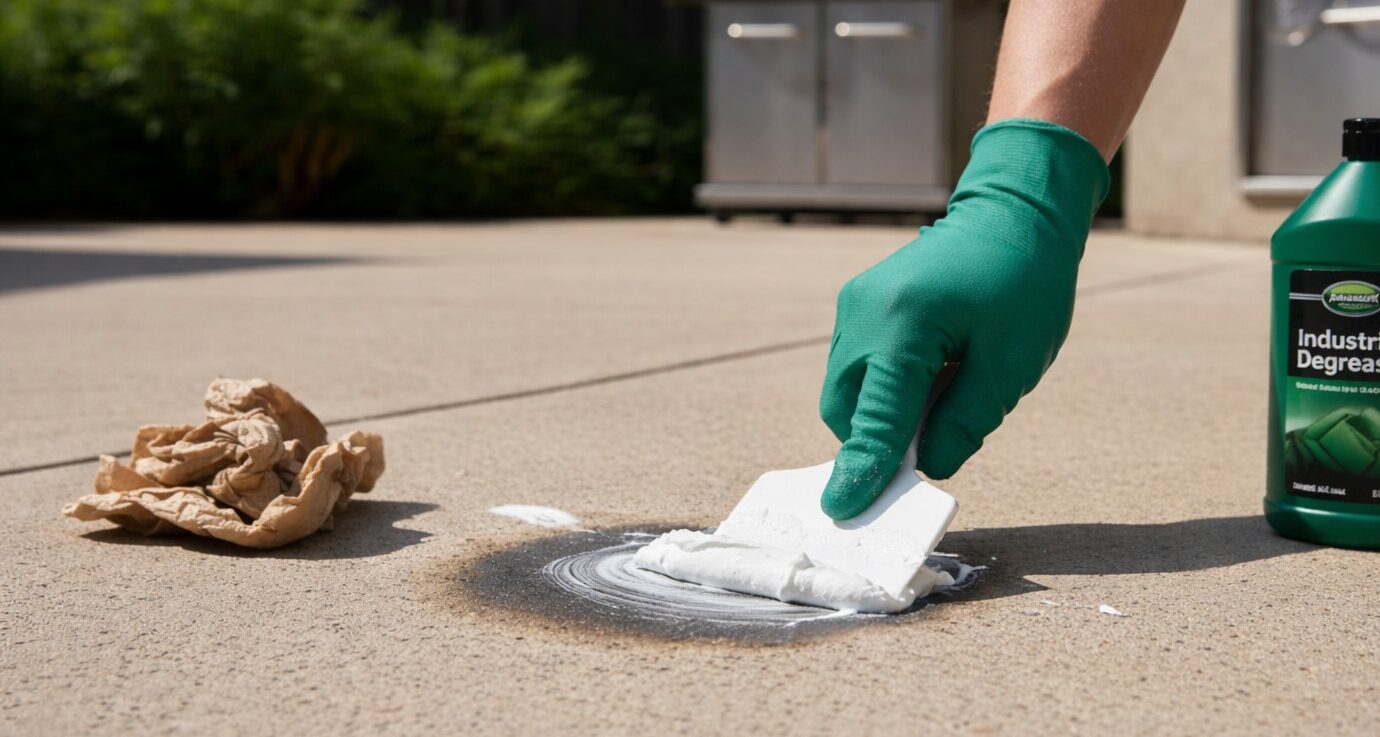
Oil and Grease
Cooking grease and car drips need a degreaser made for concrete. Blot fresh spills, then apply degreaser and scrub. Deep stains may take repeated applications.
Mold, Mildew, and Algae
Start with scrub-and-rinse using detergent and water, plus complete drying. If you use bleach for stubborn growth, stick to safe dilution guidance and ventilate.
Leaf and Tannin Stains
Leaves can “tea-stain” concrete. An oxygenated cleaner is often effective without being harsh. Let it dwell, scrub lightly, and rinse well.
When Stains Keep Coming Back
Recurring stains usually point to a source problem:
- Downspouts dumping water near the patio edge
- Poor drainage that keeps the slab damp
- Planters without trays, causing constant moisture rings
- Grill zone splatter without a protective mat
Fixing the source is what turns a one-time cleanup into a long-term solution.
How To Clean Concrete Floors in Garages, Basements, and Enclosed Patios
Indoor Concrete Cleaning Prep
Indoor slabs behave differently because moisture has fewer places to go.
- Ventilate the space with fans and open doors when possible.
- Protect walls and trim from splashes.
- Use less water than you would outside to avoid seepage and lingering dampness.
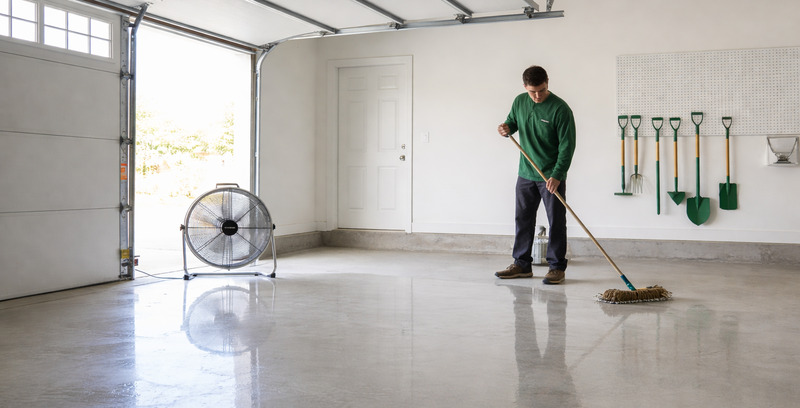
How To Clean Concrete Floors | Step by Step
If you’re searching for how to clean concrete floors, the best process is controlled and repeatable:
- Dry sweep and vacuum edges where dust packs in
- Apply a low-foam cleaner suited for concrete
- Scrub and wipe up the dirty solution rather than flooding
- Rinse lightly and dry fast with fans
Floor Stains: Quick Fixes Homeowners Can Try First
- Degreaser for oil spots
- Poultice-style stain treatment for deep-set discoloration
- Test first on coated floors so you do not cloud the finish
After Cleaning: Should You Seal or Refresh Color?
When Sealing Makes Sense
Sealing can make future concrete cleaning easier because it reduces absorption.
Consider it if:
- Your patio stains easily
- The surface looks dry and porous
- You want simpler rinse-and-sweep upkeep
Wait until the concrete is fully dry before sealing, and follow product cure times.
How To Stain Concrete Patio Surfaces the Right Way
If you’re researching how to stain concrete patio areas after cleaning, think of it as a finish project, not a cleaning add-on.
- Clean and rinse completely so no residue interferes
- Allow full dry time so the stain absorbs evenly
- Apply in thin, consistent coats
- Seal after staining if the stain system requires it
Common Staining Mistakes To Avoid
- Skipping a test patch
- Staining over leftover cleaner film
- Sealing too soon before the moisture has left the slab
Seasonal Maintenance Tips To Keep Your Patio Clean Longer
Weekly and Monthly Habits That Prevent Buildup
- Sweep high-traffic areas weekly
- Rinse pollen and light dirt before it settles into pores
- Spot-treat algae early before it spreads
- Move furniture occasionally to prevent shadowing and trapped moisture
Smart Placement Tips for Fewer Stains
- Use a grill mat under the cooking zones
- Add planter trays to stop ring stains
- Place doormats at patio doors to reduce tracked-in grit
Frequently Asked Questions | Concrete Patio Cleaning
How to clean concrete to make it look new?
Sweep thoroughly, wash with a mild concrete cleaner, scrub stained areas, and rinse completely. For best results, remove stains with the appropriate concrete stain remover and consider sealing the surface after it dries.
How to refresh an old concrete patio?
Deep clean the surface, repair visible cracks, remove stubborn stains, and apply a concrete sealer or stain. These steps restore appearance and help protect the patio from future wear.
How much does a 20x20 concrete patio cost?
A 20×20 concrete patio typically costs between $4,000 and $8,000, depending on site prep, thickness, finish, and local labor rates.
What is the 20/30/40 rule in concrete?
The 20/30/40 rule refers to proper curing timing: concrete should be finished within about 20 minutes, initially set within 30 minutes, and protected from heavy stress for at least 40 hours.
What is the 90-minute rule for concrete?
The 90-minute rule means concrete should be placed, finished, and initially worked before it begins to set, which usually occurs about 90 minutes after mixing, depending on temperature and conditions.
Book a Spring Concrete Refresh in Westchester County
If your patio still looks blotchy after multiple rounds of cleaning, or you’re seeing worn, rough patches that trap dirt, it may be time for a more comprehensive refresh. SMJ Homes can help homeowners and property owners in Westchester County evaluate what’s going on, whether that means targeted stain removal, surface protection options, or larger exterior improvements that make outdoor spaces easier to maintain long-term.